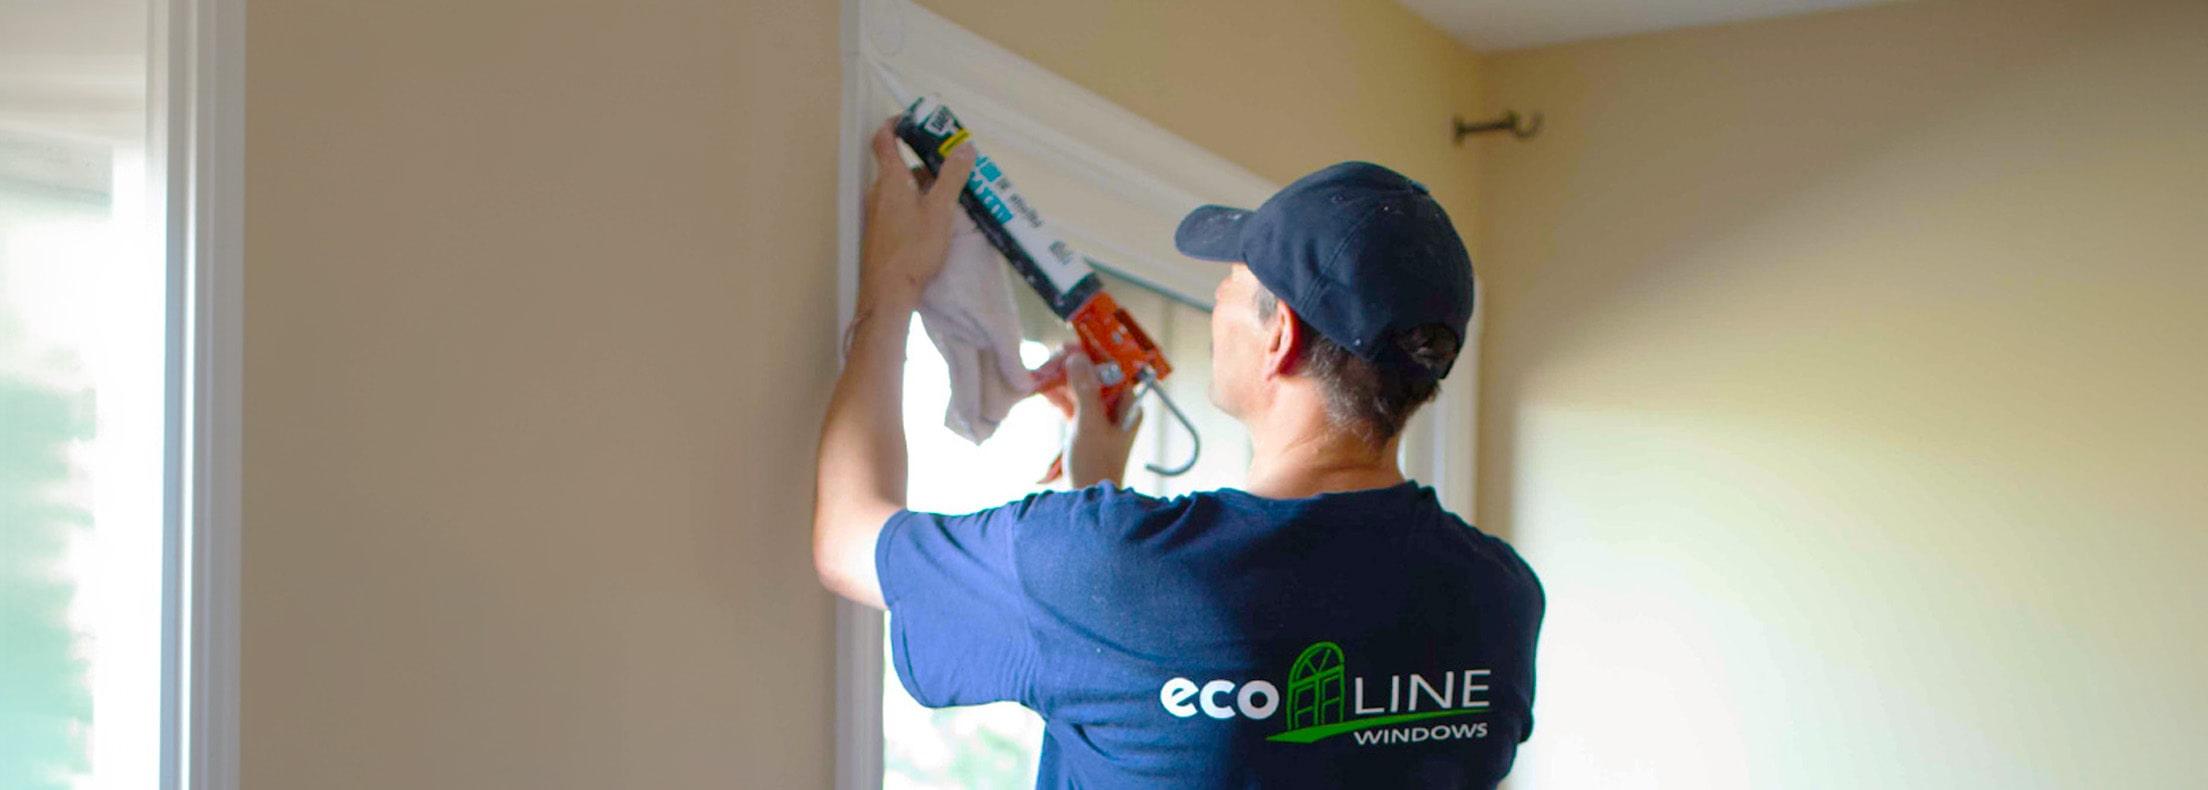

Window Caulking 101: Say Goodbye to Drafts and Leaks
Jul 3, 2015
Aug 6, 2024
11 min read
725
Are drafty windows making your home uncomfortable and driving up energy bills? Discover how proper window caulking can make a world of difference.
When it comes to efficiency and effectiveness of your old or new replacement windows, window caulking is the first step in protecting the structure of your wall from external elements, moisture and insects.
When applied properly, caulking creates a continuous seal between the edge of the new window and the wall and ensures nothing can get in. And by sealing gaps and cracks around your windows, you can enhance your home’s energy efficiency, prevent damage, and improve its overall appearance.
Today, we’ll explore the benefits of caulking windows, explore the various types of caulking materials, review DIY vs. professional services, and offer maintenance advice to ensure your caulking remains effective for years to come.
Whether you’re looking to tackle a DIY project or understand when it’s best to call in the experts, our comprehensive guide has you covered.
Why Maintaining a Proper Window Caulking?
Inspecting the caulking of your windows regularly is vital to maintaining your house’s comfort and thermal performance. It also helps to reduce issues such as air and water leaks, rotten window frames, high energy bills, and poor indoor temperature.
Energy Efficiency
Proper window caulking is key to enhancing your home’s energy efficiency. By sealing gaps and cracks around windows, you prevent cold air from entering during the winter and keep cool air inside during the summer. This results in reduced heating and cooling costs, making your home more comfortable year-round. A well-sealed window can significantly lower your energy bills, making caulking a cost-effective solution for energy conservation.
Preventing Damage
Caulking windows is not just about improving energy efficiency; it also plays a crucial role in preventing damage. Unsealed gaps can allow water to seep in, leading to water damage, mould growth, and even structural issues over time. Proper caulking creates a barrier that protects your home from these potential problems. Maintaining your caulking can avoid costly repairs and ensure the longevity of your windows and surrounding structures.
Aesthetic Appeal
Beyond its functional benefits, caulking a window can also enhance the aesthetic appeal of your home. Well-applied caulk provides a clean, finished look by sealing gaps and cracks that can detract from your windows’ appearance. This not only improves the visual appeal but also increases the overall value of your home. Whether you plan to sell your home or simply want to maintain its curb appeal, proper window caulking is an important aspect.
Types of Caulking: How to Choose the Right One for Windows?
Choosing the right window caulk is essential for ensuring effective sealing and longevity. Different materials offer various benefits and are suited for specific applications. Here’s a detailed look at the most common types of caulk for windows.
Silicone Caulk for Windows
Silicone caulk for windows is popular due to its flexibility and durability. It adheres well to non-porous surfaces like glass, metal, and tiles, making it ideal for windows. Silicone caulk remains flexible even in extreme temperatures, which prevents it from cracking over time. However, it can be more challenging to apply and clean up than other caulk types.
Acrylic Caulk
Acrylic caulk is another commonly used window sealant. It is easy to apply and clean up, making it a favourite for DIY projects. Acrylic caulk can be painted over, allowing it to blend seamlessly with the window frame and surrounding walls. However, it is less flexible than silicone caulk and may not perform as well in areas with significant temperature fluctuations.
Polyurethane Caulk
Polyurethane caulk offers excellent adhesion and durability, making it suitable for both interior and exterior applications. It provides a strong seal that can withstand movement and temperature changes, making it a great exterior caulk for windows. However, it can be more expensive and harder to work with than other types of caulk.
Butyl Rubber Caulk
Butyl rubber caulk is known for its waterproofing properties and is often used as an outdoor window caulk. It remains flexible and can adhere to a variety of surfaces, including wood, metal, and masonry. Butyl rubber caulk is highly resistant to weather conditions, making it ideal for exterior use. However, it can be messy to apply and has a longer curing time.
DIY vs. Professional Window Caulking
Over time, caulk can deteriorate and need replacement. Knowing how to recaulk windows is essential to maintain the seal’s effectiveness. If you notice holes or bubbles forming, it’s a sign that it’s time to replace window caulk.
Because it is made from malleable silicone, caulking can often expand or contract after it is applied, which may result in holes or bubbles in certain areas around your window. Fortunately, caulking problems are some of the easiest to fix. It is so easy; you can do it yourself most of the time.
If you’re wondering how to recaulk windows, follow these steps for a successful DIY window caulking project:
- Preparation: Remove old caulk using a caulk remover or a utility knife. Clean the area thoroughly to ensure proper adhesion of the new caulk.
- Selecting Caulk: Choose the appropriate caulk for your project. For indoor applications, acrylic caulk is often sufficient, while silicone or polyurethane caulk is better for exterior use.
- Application: Cut the tip of the caulk tube at a 45-degree angle and apply a steady bead along the gaps. Smooth the caulk with a caulking tool or your finger for a neat finish.
Key Areas and Mistakes to Avoid When Caulking Your Windows
Knowing where to caulk windows is crucial for effective sealing. Focus on the perimeter where the window frame meets the wall, both inside and out. However, it’s important to know where not to caulk around windows. Avoid caulking areas where water is supposed to drain, as this can trap moisture and cause damage.
Window caulking vs. replacement: cost considerations
Before starting your project, consider the recaulk windows cost. DIY caulking is generally inexpensive when compared to full window replacement, requiring only the cost of caulk and a few basic tools. Moreover, experts agree that “the costs of properly applied caulking can usually be recovered in energy savings within one year”.
However, it may be worth hiring a professional if you need extensive caulking work or if your current windows are too old and worn out since even the best caulking won’t help if windows have a seal failure, damaged frames or rotten structure.
If you are not an avid DIY enthusiast or have no time to deal with your window caulk, make sure to call your window installers to do the job. When applied properly, window caulking enhances energy efficiency, stops water and air leaks, and generally enhances the comfort of your house.
Does Window Warranty Cover Caulking Issues?
When new windows are installed, it’s important to understand the warranty coverage for caulking. This warranty can save you from additional costs if any issues arise. Here are some general tips for homeowners dealing with damaged or problematic caulking that is still under warranty.
Understand Your Window Warranty
First, find out what warranty your window company offers on caulking. Some companies cover caulking for a year or two, while others include it in their labour warranty, which can be much longer. Knowing the specifics of your warranty can help you take advantage of the coverage and avoid unnecessary expenses.
Caulking Inspection Period
After installing new windows, waiting at least two to three weeks before requesting caulking services is crucial. This period allows the caulking to settle and dry properly. Only after this curing period can the existing caulk be cut away and replaced if necessary.
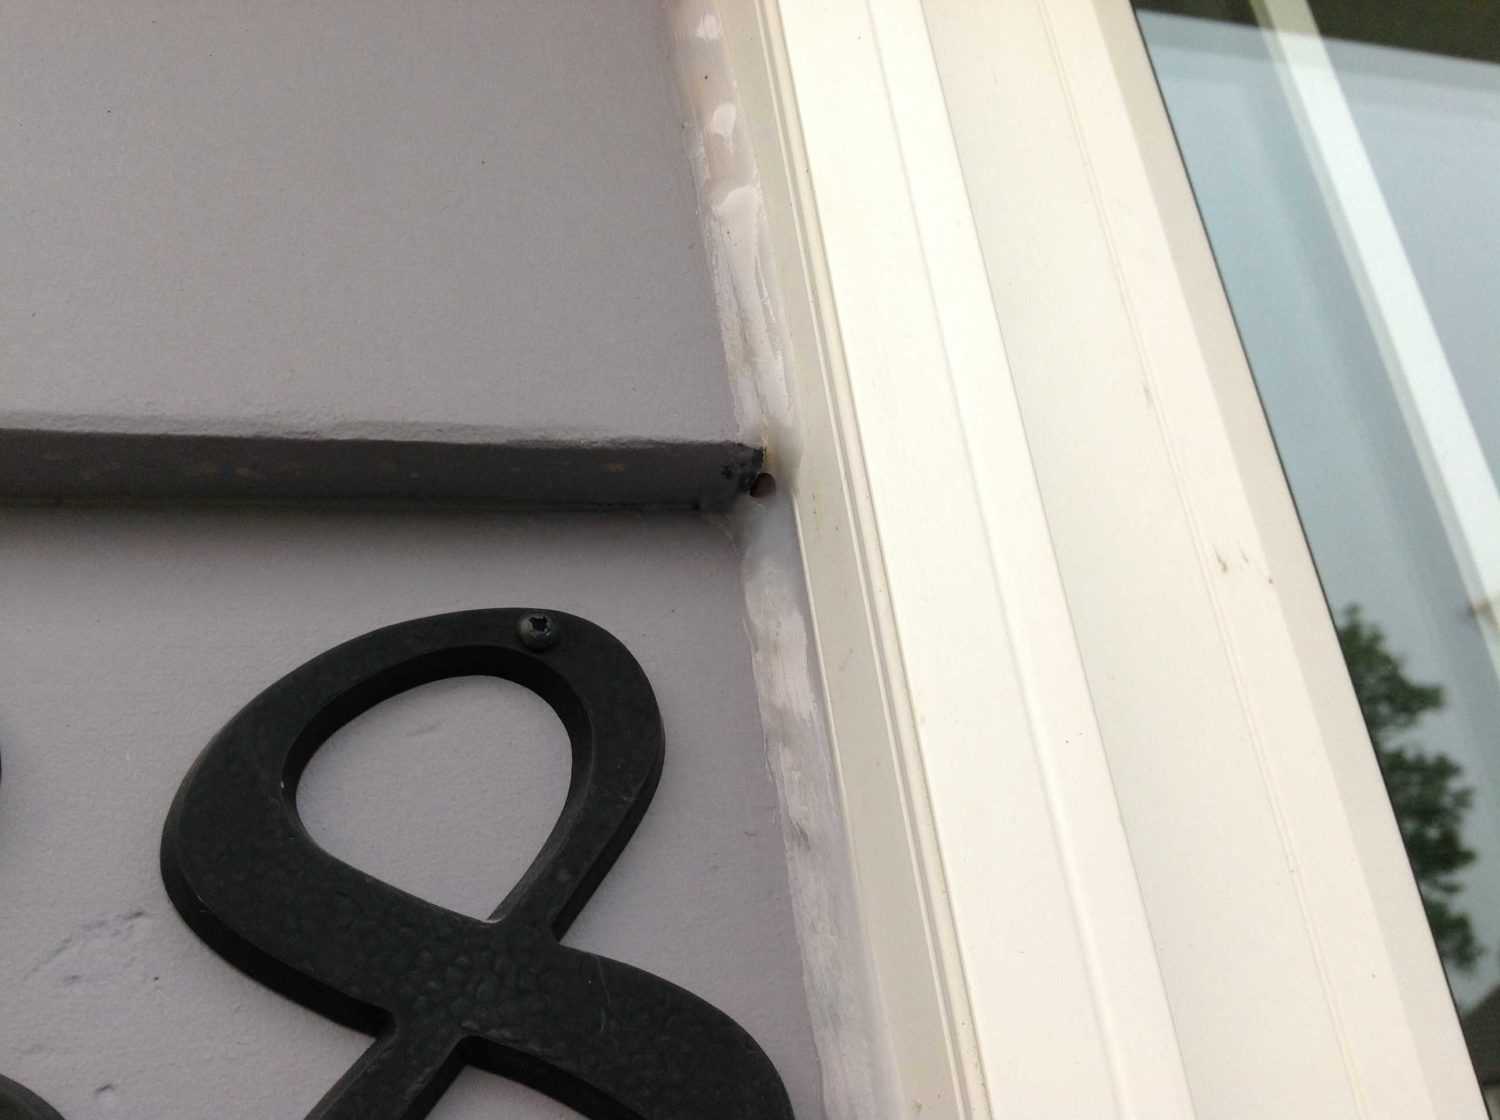
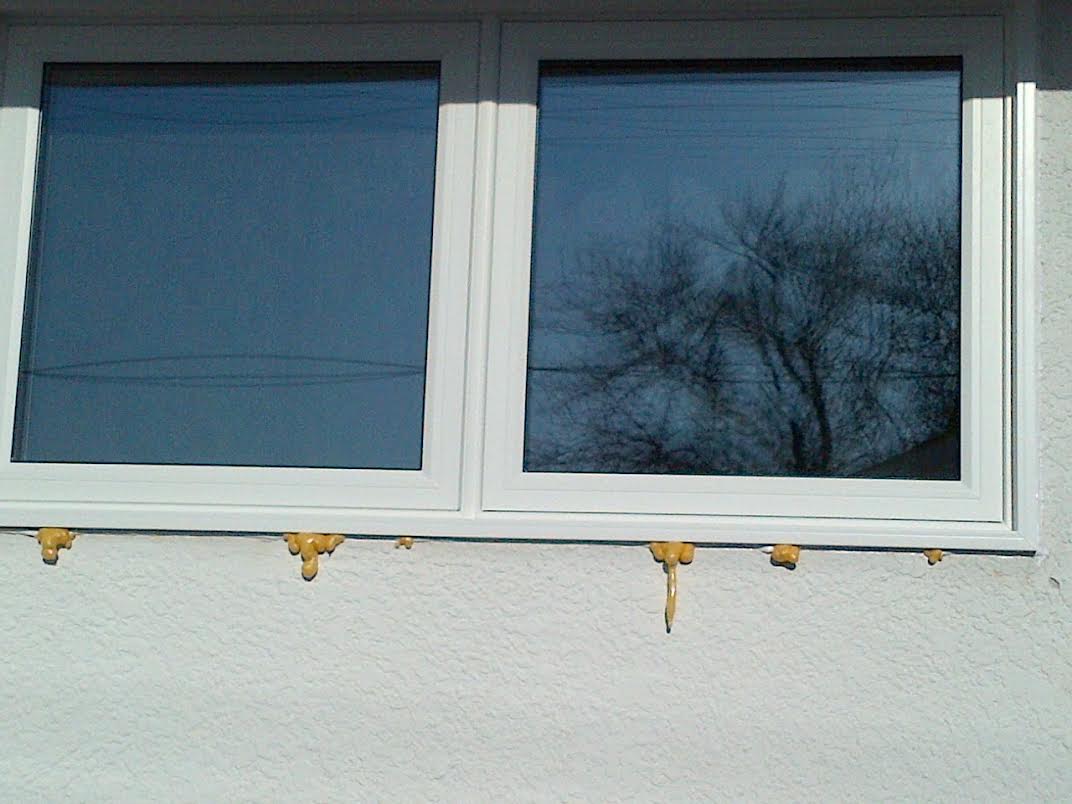
Be sure to inspect the edges around your frames a couple of times within the first month. Look for any signs of excessive or missing silicone on one side or the other. Early detection of issues can prevent bigger problems down the line.
How to identify a window caulking failure?
Here are some common indicators of caulking issues that you should watch for, whether you have recently installed windows or are maintaining older ones:
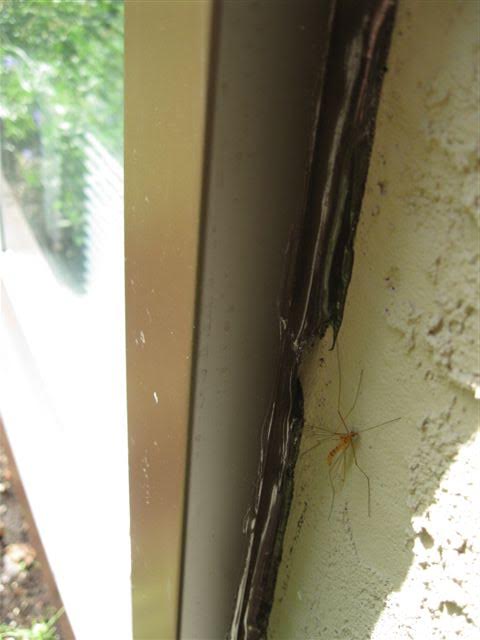
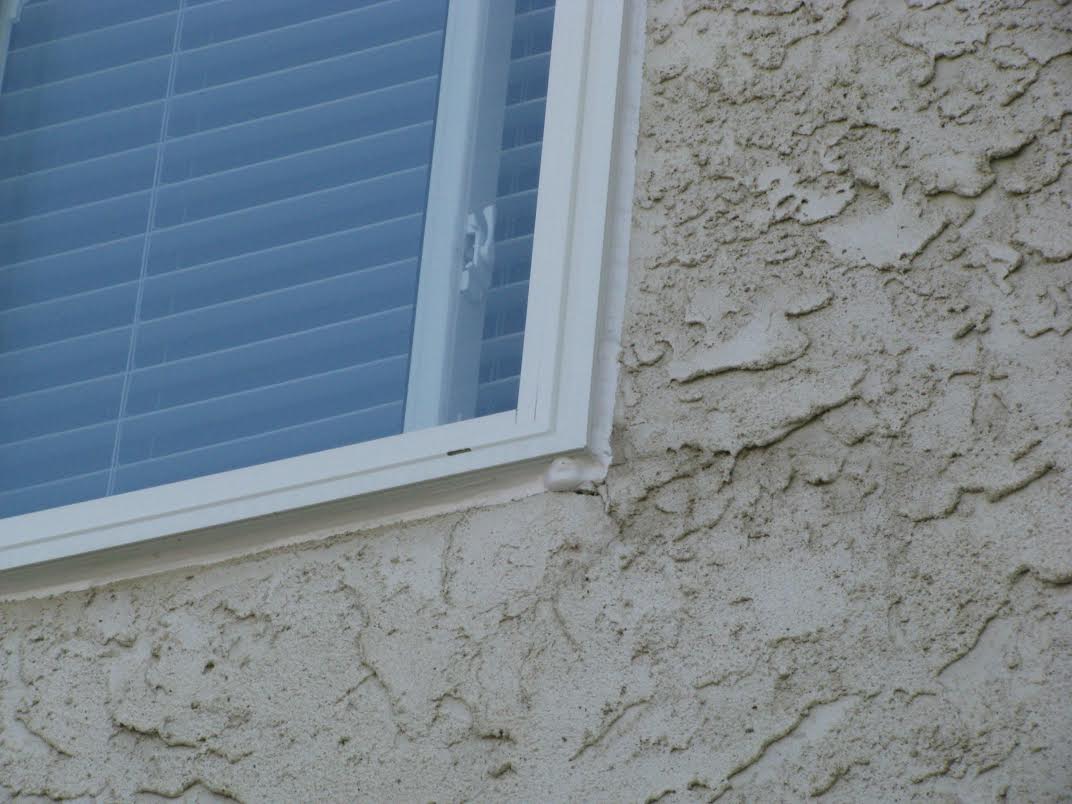
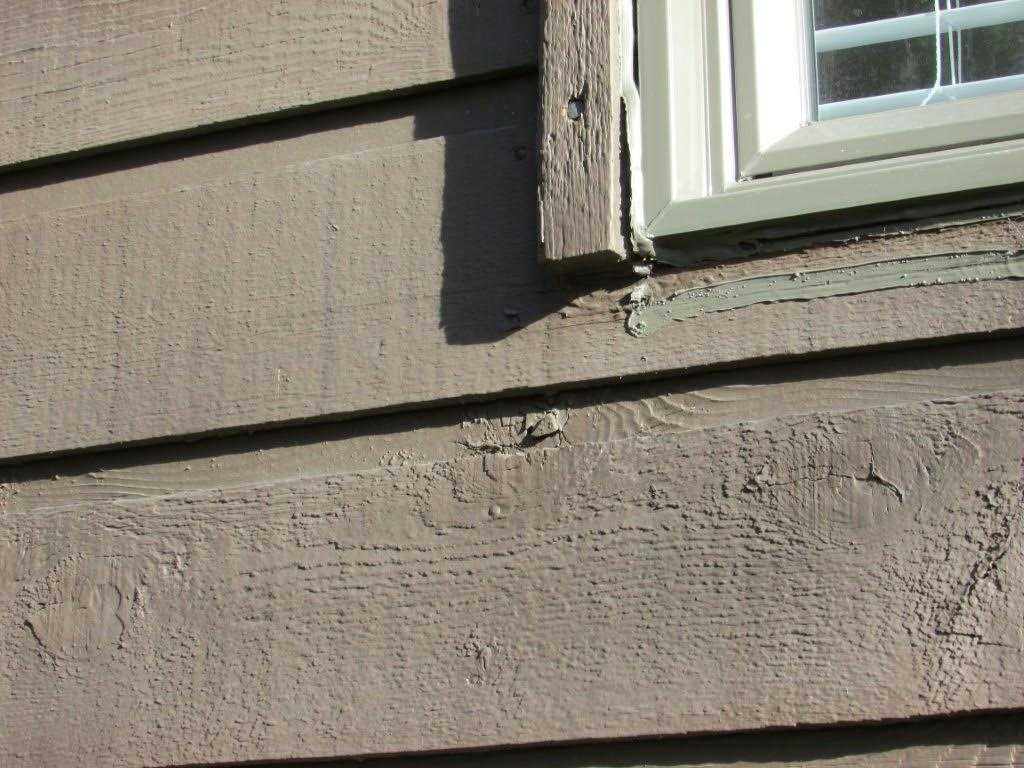
- Gaps or Cracks: Check for any visible gaps or cracks in the caulking. These can compromise the seal and allow air and moisture to enter.
- Bubbles or Blisters: If you notice any bubbles or blisters forming in the caulking, it’s a sign that the caulk is not adhering properly and needs to be addressed.
- Discolouration or Mould: Discolouration or mould growth can indicate water infiltration, which means the caulking is failing to do its job.
- Peeling or Separation: Peeling or separation of the caulk from the window frame or wall is another sign that the caulking needs to be repaired or replaced.
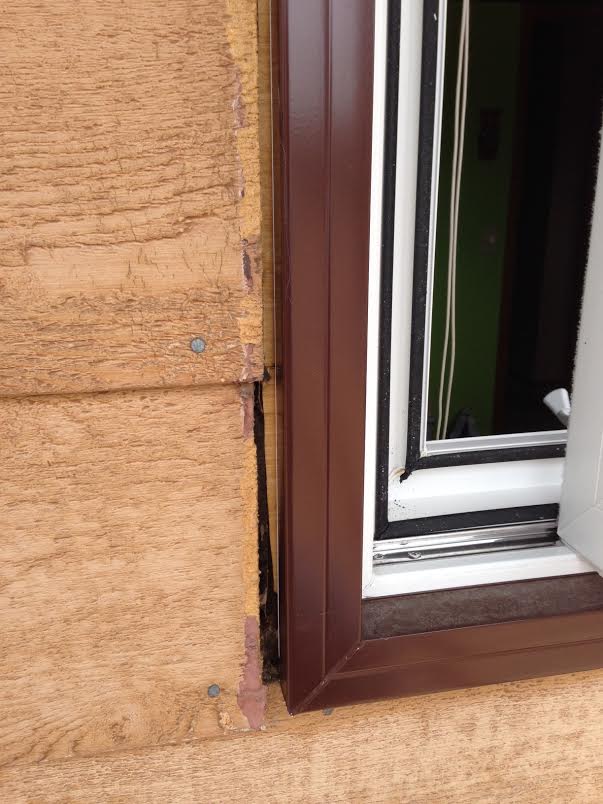
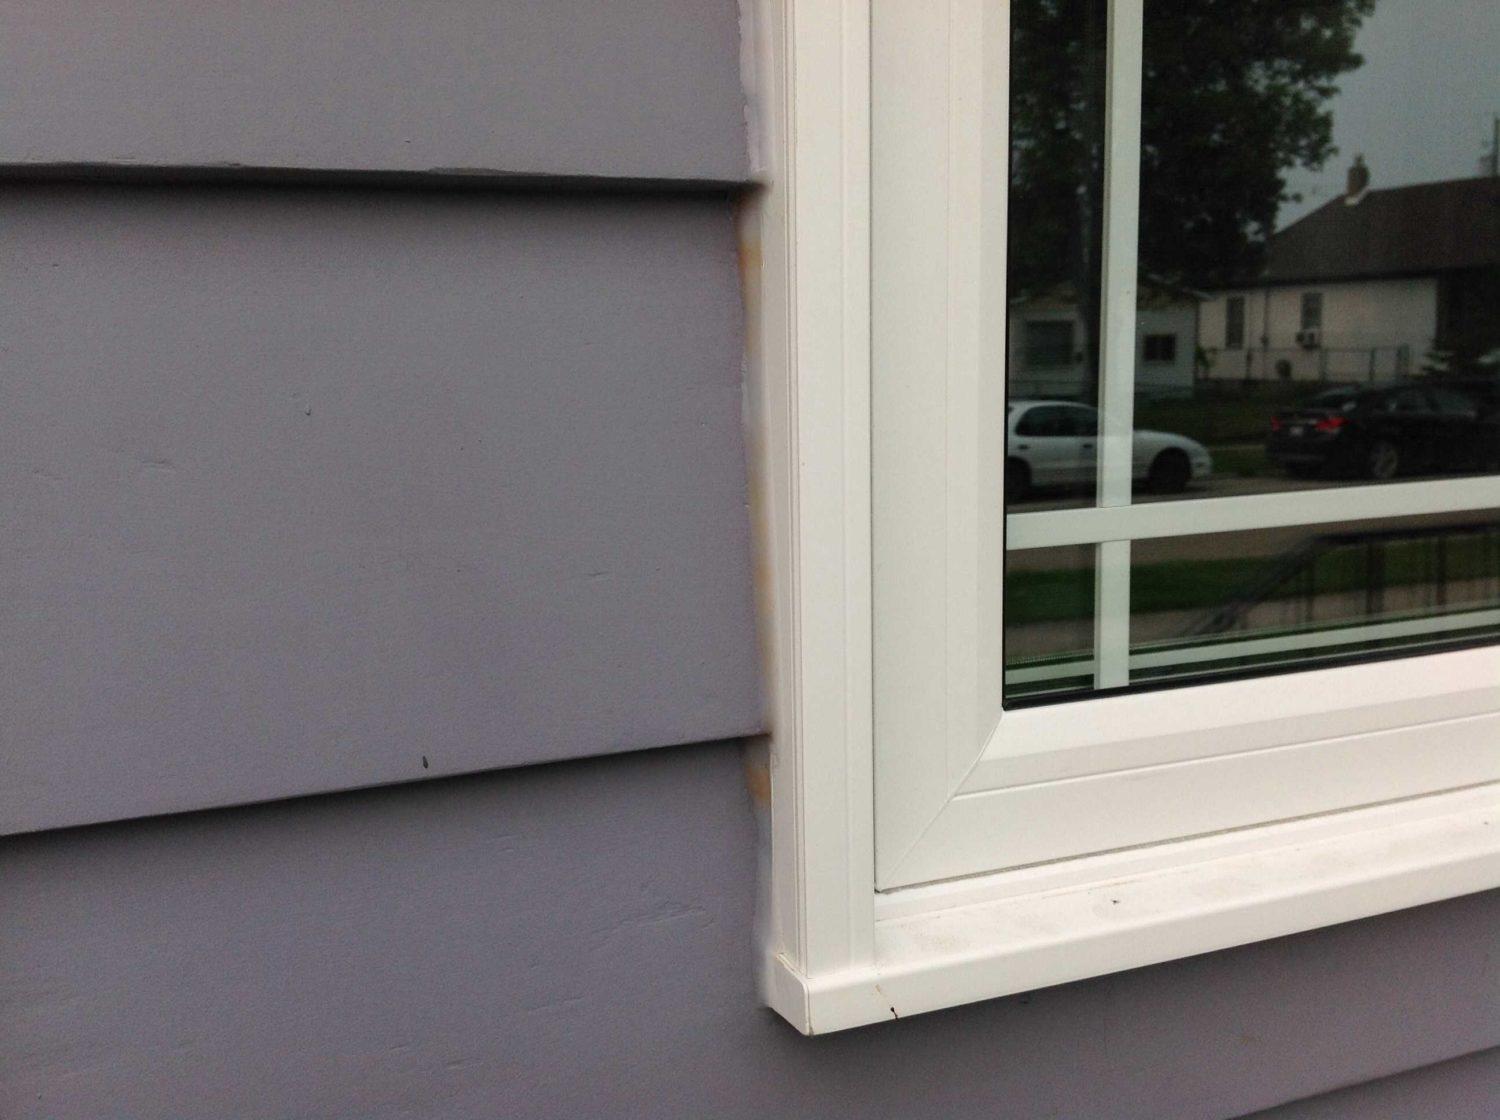
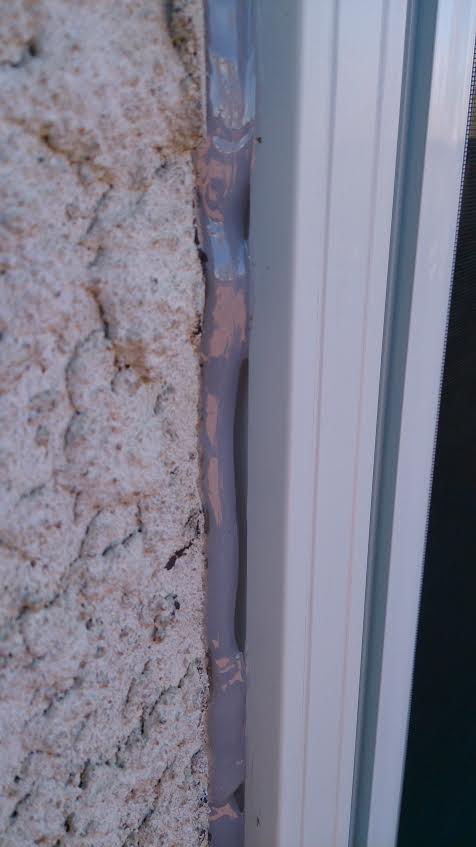
Here are some examples of what to look for in your caulking, regardless of whether you just had windows installed, or want to fix your older windows.
When to Call in Window Caulking Services?
If you identify any of the issues above, contact your window caulking company to arrange for warranty service. This problem should be covered by the company’s installers free of charge. Ensure you document the issues with photos and detailed notes to support your warranty claim.
Quality window installers not only ensure that the caulking is applied generously and seals off the space between the frame and the wall. They also look out for the aesthetic appeal of the windows and make sure that the caulking is applied evenly, and as continuously as possible to give the windows a clean polished finish.
If you have noticed missing or leaky caulking in your new windows, don’t worry this is quite a common problem, especially in the days following the installation. Contact the service department of your window company and they should resolve the problem for you.
F.A.Q
How to recaulk windows?
To recaulk windows, first remove the old caulk with a scraper or utility knife. Clean the area thoroughly, apply a new bead of caulk, and smooth it out with a caulking tool. Allow the caulk to cure as per the manufacturer’s instructions.
How to caulk outside windows?
To caulk outside windows, clean the surface, remove old caulk, and apply a bead of exterior-grade caulk along the seams. Smooth it with a caulking tool for a neat finish. Ensure the caulk is weather-resistant to withstand the elements.


