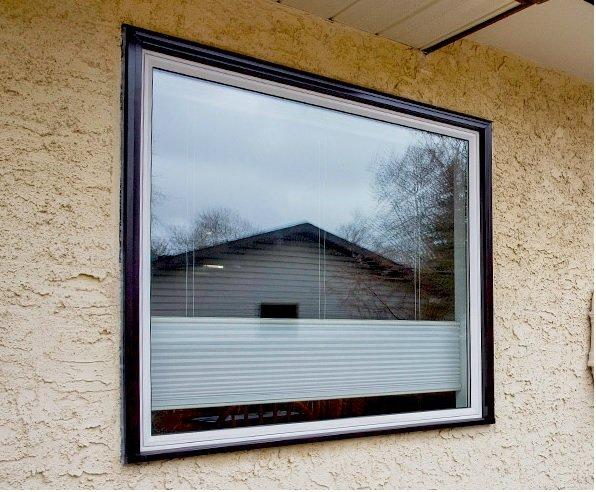
Scratched glass is one of the more common and annoying issues that can happen to any windows in your house. Nothing quite worse than looking through your freshly cleaned windows, only to be distracted by a surface scratch or a nick.

Previously we’ve written about some DIY fixes for damaged or broken windows. And as we learn more about the topic we wanted to share another one today. Remember, however, that in most modern windows, scratches can be a sign of bigger problems like a seal failure. If you see that the scratch is deep enough to reach the other side of the glass, you should definitely contact a window repair or replacement company to make sure that the airtight seal is not compromised. If it is, your best bet may be to replace the whole sealed unit or even window.
This scratch removal solution is ideal for cosmetic surface scratches, and can help restore the look of glazings, glass tables, mirrors, or even your windshield.
What you will need:
- A couple plastic tubs or cups
- Water
- Cloth or paper towel
- Cerium Oxide Powder (you can find this at any home hardware store)
- A felt polishing wheel that can be attached to a drill
- An electric drill
How to do it:
- Dampen the wheel in water.
- Mix a couple of tablespoons of oxide powder with a bit of water. The finished compound should have the consistency of heavy cream. Keep adding water or powder, and stirring until the mix is right.
- Make sure the glass is clean before you begin.
- Make sure the felt wheel is damp but not dripping wet.
- Attach the felt wheel to your drill, and dip the end into the compound.
- With some light pressure, start buffing the scratched area. Move the pad from side to side in circular motions.
- As you keep buffing, the compound will begin drying and turning into a film over your glass. Make sure it is still substantially damp as you’re buffing, as working over a dried area can overheat your glass and cause it to crack.
- When done buffing, simply wipe off the excess mix, and your scratches should be gone.
- If scratches are still visible, you can repeat the steps until they’re filled in.
Remember, this is a surface area, cosmetic fix, and may not always be ideal for vinyl windows. If you can, identify the source of the scratch. If the reason is external, like a pebble or hail, the fix may be as simple as the steps above. But if your windows are cracked because of changes in pressure, and sealed unit failure, that may be a sign of problems with the product or installation, and may require a more significant fix. If your windows are still under warranty, don’t attempt any fixes before consulting with the company that supplied them. Even if they don’t deem the issue serious enough to require service, they should still advise you on what the best solution is for scratches or damaged glazings.
As with everything in life, err on the side of caution and make sure to ask all the necessary questions before attempting any work yourself.
Learn everything you need to know about replacement windows:
Find out how much a new window project should cost
See our full line of vinyl window styles
Follow the replacement process in our INFOGRAPHIC
